Armored Car Number 2.
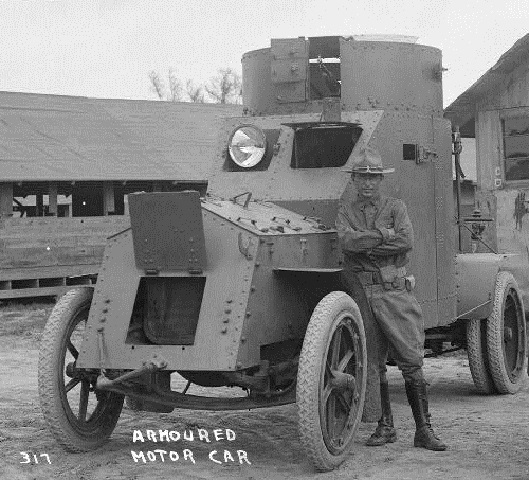
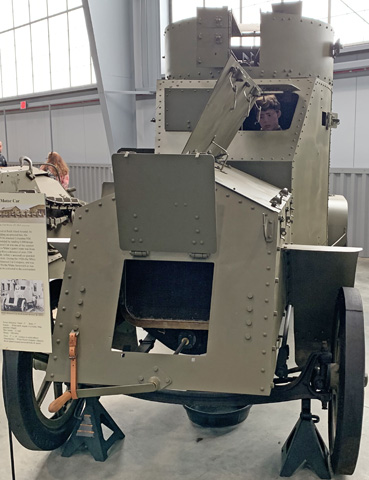
The single front and dual rear wheels can be easily seen in this view. The armored flap for the radiator is open, as well as the driver's hatch. The machine gun is mounted in the turret. (The Robert Runyon Photograph Collection, image 00901, courtesy of The Center for American History, The University of Texas at Austin; available from the Library of Congress.)
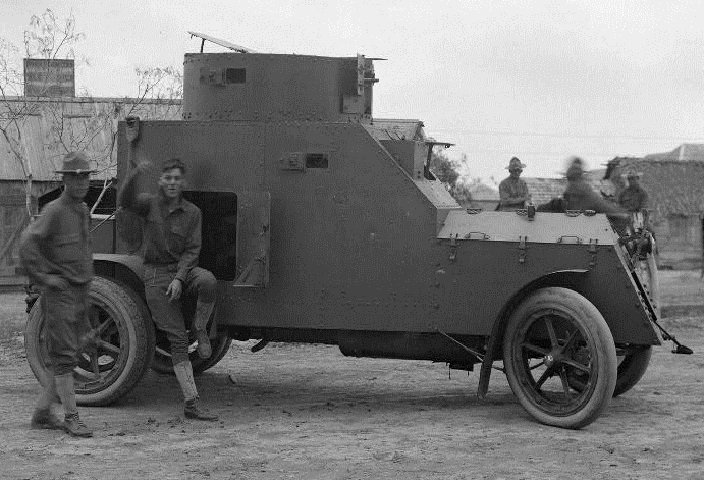
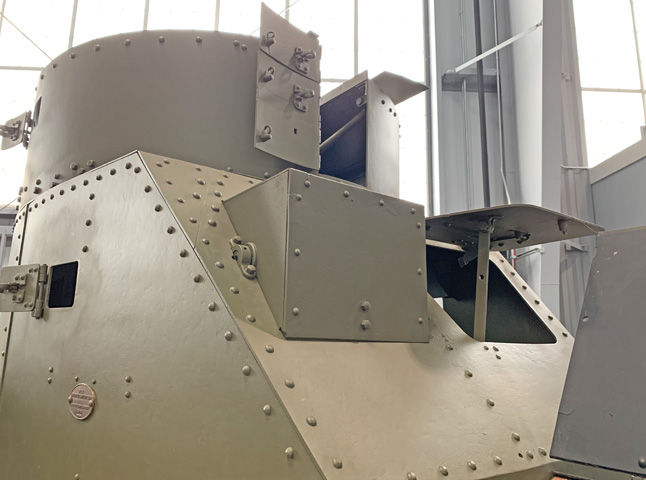
The entry hatch is open near the rear of the car, and the turret is provided with some ventilation as well with a hatch in its roof. Note the vision ports in the hull and turret, and that the spotlight has been covered with an armored box. (The Robert Runyon Photograph Collection, image 00898, courtesy of The Center for American History, The University of Texas at Austin; available from the Library of Congress.)

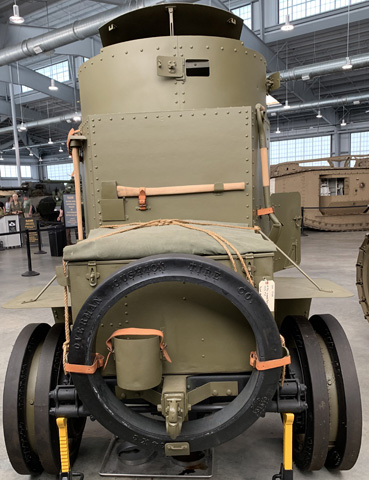
Stowage for a spare tire and pioneer tools was provided on the rear of the hull. The vision ports are closed on this car. (Picture from Development of Armored Vehicles, volume II: Armored Cars, Scout Cars, and Personnel Carriers.)
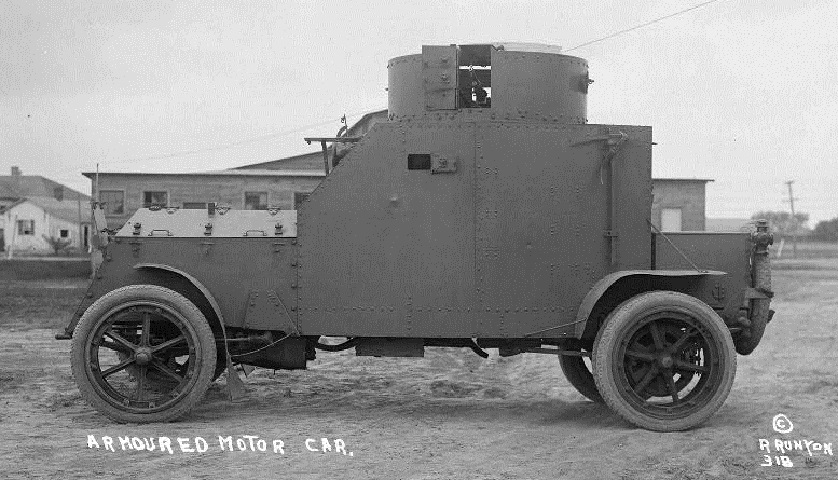
The engine exhaust can be seen under the vehicle in this view. (The Robert Runyon Photograph Collection, image 00903, courtesy of The Center for American History, The University of Texas at Austin; available from the Library of Congress.)
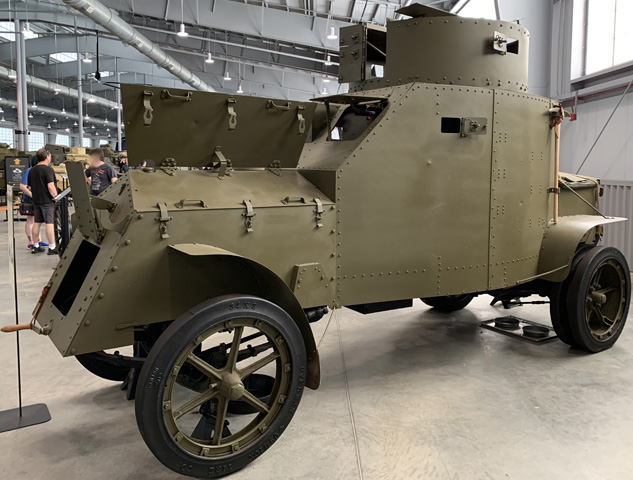
The engine hood on the opposite side of this restored car is open, and the design of its solid tires can be contrasted with the cars above. No armament is fitted.

The leather straps for the pioneer tool stowage contrast with the vehicle's green paint.
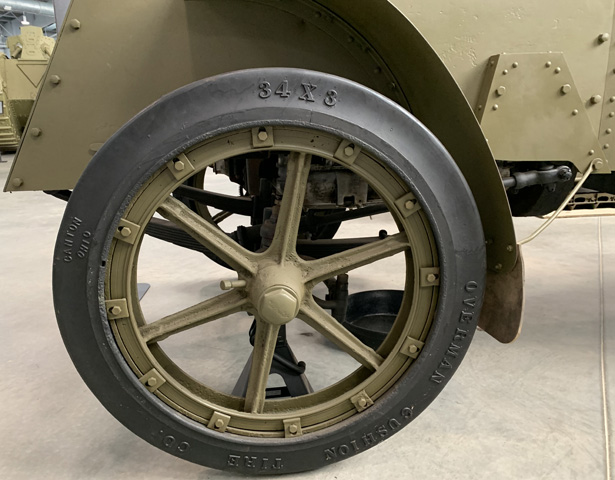
Seen here on the left front wheel, the tire had its sizing prominently molded into its sidewall.
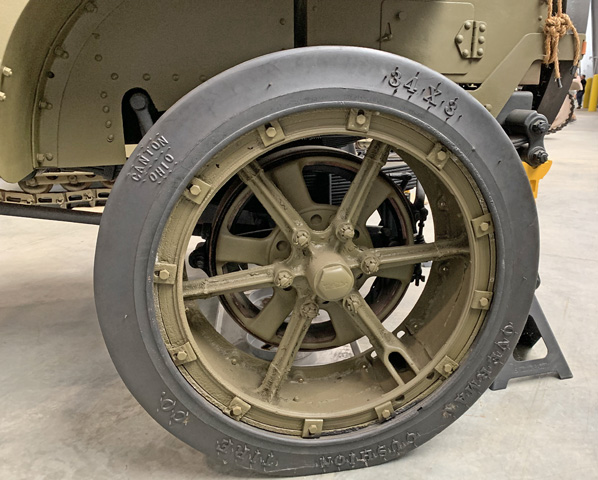
The rear wheel was a wide casting to which two tires were attached.
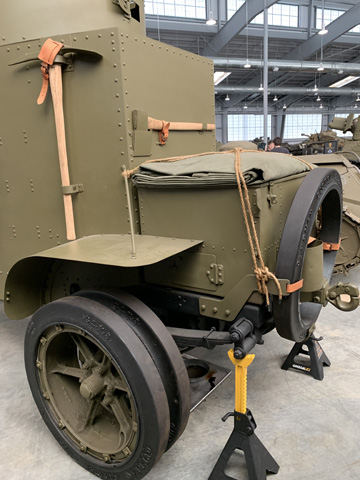
The unitary nature of the rear wheel to which the dual tires were attached can again be seen, along with the stowage box, spare tire, and towing hook on the hull rear.
The spare tire and towing hook are better seen from this angle, and the dual rear tires are obvious.
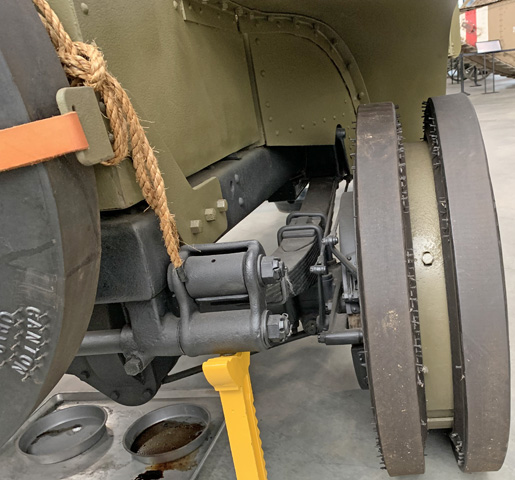
Details of the right rear wheel and suspension can be gleaned from this image. The rear fenders used the stowage box as part of their connection to the hull.
The shield for the light is installed, and the three small doors that make up the turret front can be discerned. To the lower right of the image is the right-side cover for the engine compartment.
The engine's radiator can be seen with the armored cover open. The leather strap for securing the engine hand crank is also apparent.
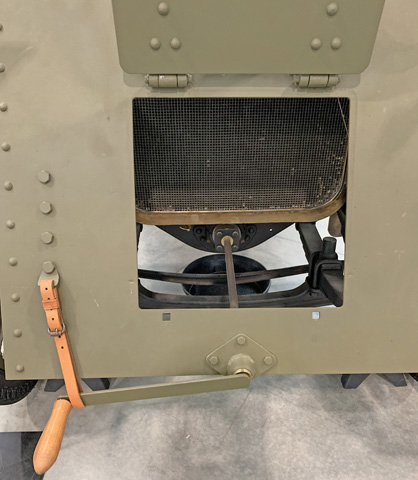
A closer view of the radiator is provided here. The front axle is visible behind the armor, and the tab used to loop the leather strap is attached to the lower right-hand bolt on the hull front.
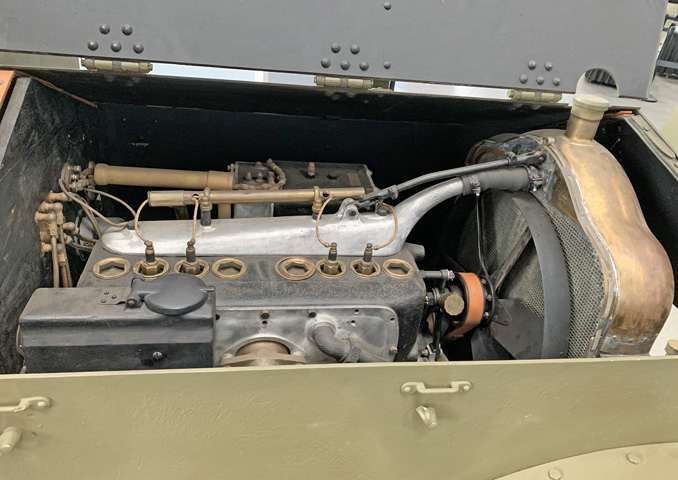
The four-cylinder engine is on display, with the radiator and cooling fan to the right of the image.
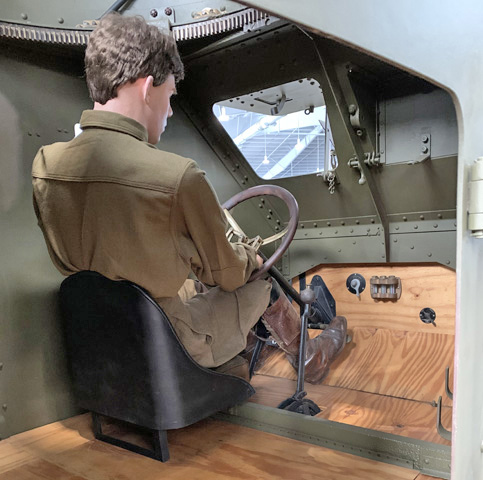
The driver sat to the left of the hull, with the gearshift lever to his right. The turret ring can be seen behind his head, and the spotlight mount is on the opposite side of the hull front from his forward hatch.
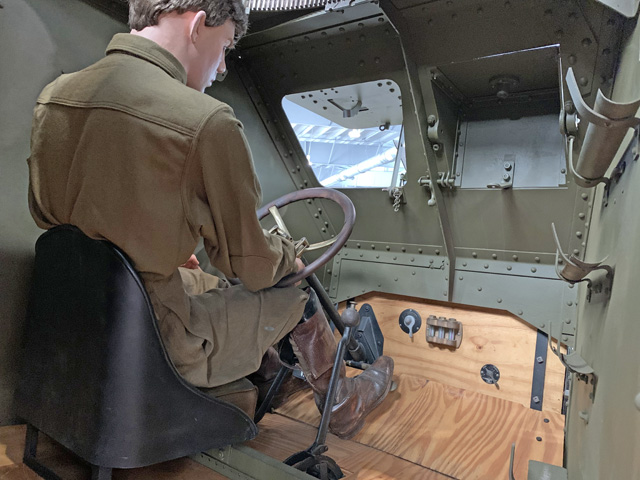
Another angle of the interior front is shown here. The spotlight mounting points can be seen to the driver's front right.

A view upward into the turret shows the machine gun mount and the open rear hatch. When closed, three small doors protected the front of the turret.
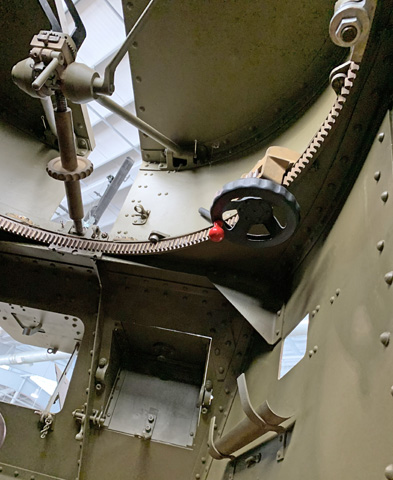
The turret traverse mechanism was to the right of the machine gun mount, and bearings are visible at regular intervals around the turret ring.

Details of the front suspension, steering linkages, and the drive shaft can be seen under the front of the car.
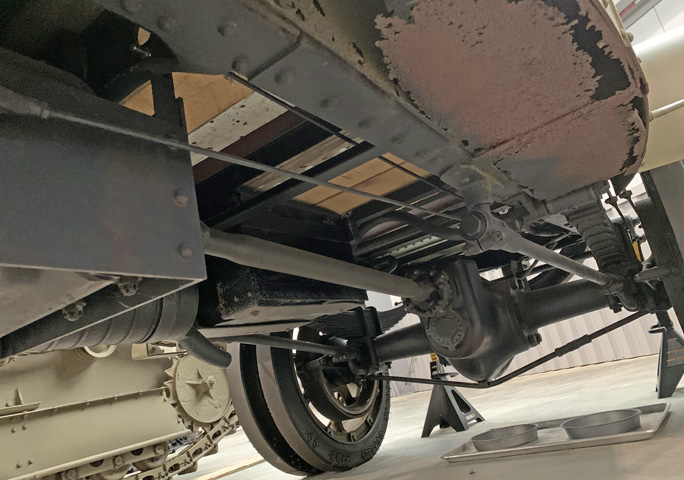
The drive shaft, differential, rear suspension, and engine muffler and exhaust are visible when looking under the vehicle to the rear.
